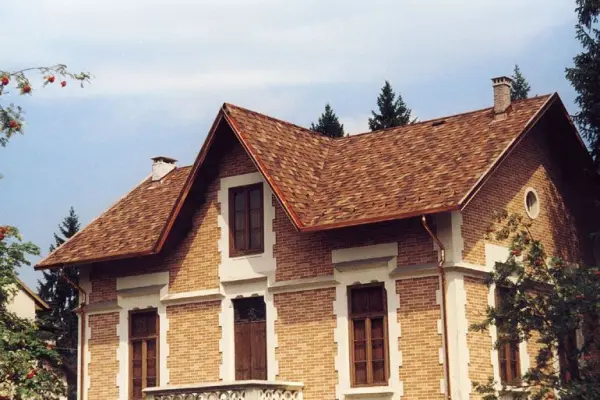
Roofing is not only a critical component of any building but also its first line of defense against weather and external impacts. In 2025, the cost of repairing a private house's roof ranges from €15 to €80 per m², depending on the chosen materials and the complexity of the work. Timely roof renovation protects the house from leaks, mold, and other serious damage that can harm the structure and the health of its occupants.
Just as a surgical operation requires precise diagnostics, roofing work begins with a professional assessment. An old, worn-out roof negatively affects the house's appearance and can reduce its market value by 10-15%. In practice, I often notice that homeowners delay repairs until a critical moment, when the cost of roofing work increases significantly.
Stage 1: Diagnostics and Assessment of the Existing Roof
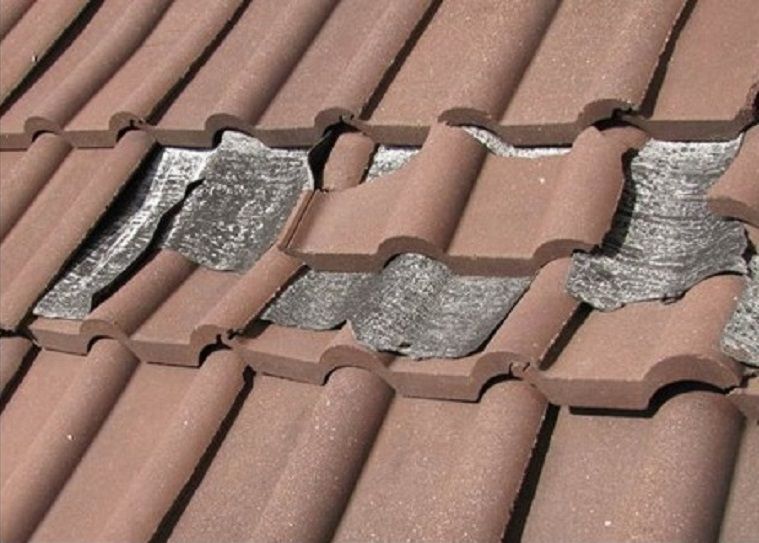
Before starting any roof renovation work, it is essential to thoroughly inspect its current condition. Preventive repairs are significantly cheaper than major restoration. Carefully examine the roof surface, paying attention to signs of wear such as cracks, blisters, peeling, or color loss.
It should be noted that the drainage system, eaves, and under-roof elements require no less attention during roof repair technology.
Identifying Damage and Defects: Inspection Technology
When diagnosing roofing materials in accordance with EN 1991-1-4 (wind loads), it is important to assess not only visible damage but also the overall condition of the load-bearing structures. During a visual inspection, pay special attention to the following problem areas:
- Leaks and traces of moisture in the attic or inside the house – the first sign of compromised waterproofing
- Damaged or loose roofing material components
- Cracks or fractures in chimneys and ventilation pipes
- Peeling or cracking of sealants at roof junctions
- Deformation of the rafter system or battens
Such comprehensive diagnostics allow for an accurate determination of the scope of necessary work and help avoid unpleasant surprises during the repair process. Timely detection and correction of even minor defects can prevent more serious damage in the future.
In practice with private clients, it has been observed that ignoring small issues leads to the need for emergency roof repairs, increasing the cost of work by 2-3 times.
Determining the Need for Repair or Full Roof Replacement
After a thorough inspection, you can determine whether a partial roof repair or a complete replacement is required. According to European practice, if damage affects more than 40% of the roof surface, a full replacement is recommended.
If the damage is minor and localized to small areas, a targeted repair may suffice. However, if the roofing system is heavily worn or has multiple damages, the best solution is a complete replacement.
Thus, proper diagnostics determine the entire subsequent roofing repair estimate and enable an economically justified decision.
Stage 2: Choosing Materials for Roofing Work
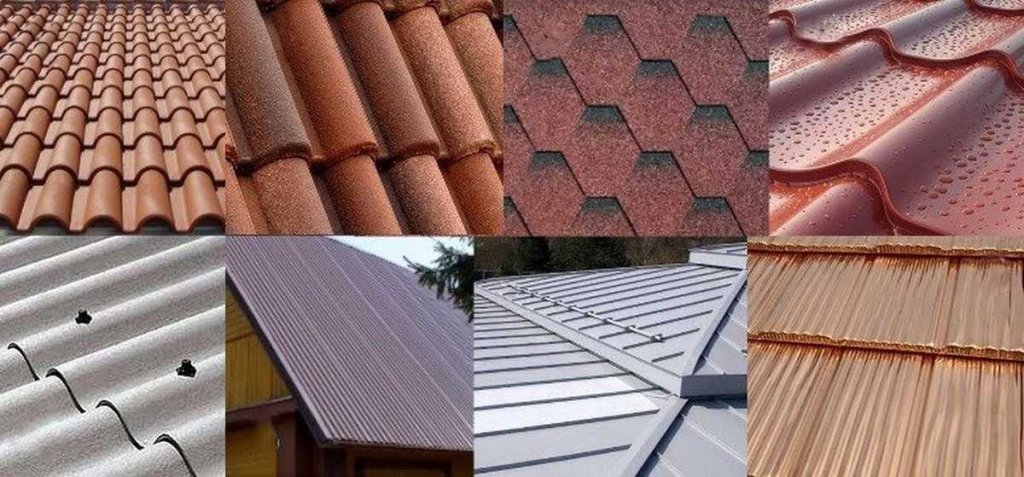
Let’s take a closer look at the advantages and disadvantages of the most popular roofing materials. The most expensive solution is not always the best, but quality matters.
When selecting materials, it is important to consider European quality standards – EN 14783 for metal roofing and EN 544 for bituminous shingles. Below is a comparative table of the main characteristics of materials:
| Type of Roofing Material | Advantages | Disadvantages | Service Life (Years) | Cost (€/m²) |
|---|---|---|---|---|
Metal Tiles |
|
|
25-35 | 25-45 |
Bituminous Shingles (Flexible) |
|
|
15-25 | 15-30 |
Natural Tiles |
|
|
50-100 | 50-80 |
Corrugated Sheets |
|
|
20-30 | 12-25 |
Fibre-Cement Slate |
|
|
20-30 | 8-18 |
Membrane Materials (Rolled Roofing) |
|
|
25-50 | 30-55 |
This table will help you make an informed choice, considering your budget, climatic conditions, and the architectural features of the building. As you can see, each type of roofing material has its pros and cons.
Selection Factors: Durability, Cost of Roofing Work, Aesthetics
When choosing a material, consider the following key factors that will determine the success of the entire roof renovation project:
- Durability: Some materials, such as metal tiles with high-quality polymer coating or natural tiles, can last for decades with proper maintenance
- Cost: Prices for roofing materials can vary tenfold – from €8 per m² for basic corrugated sheets to €80 per m² for premium tiles
- Aesthetics: Choose a material that harmoniously complements your home’s architectural style and creates an attractive appearance
- Climatic Requirements: Per EN 1991-1-3, a slope of at least 30° is recommended for metal roofing in snowy regions
Proper consideration of all factors ensures that the chosen solution is optimal for your specific operating conditions.
Tips for Choosing the Right Option
In addition to the aforementioned factors, it is recommended to consider the following technical aspects critical to roof longevity. Taking into account the structural features of the house, evaluate the following parameters:
- Load-bearing capacity of the rafter system and permissible loads per Eurocode EN 1995
- Regional climatic conditions (snow loads per EN 1991-1-3 map)
- Wind loads per European standard EN 1991-1-4
- Availability of manufacturer warranties and professional installation
- Requirements for the roofing system and insulation
- Necessity of under-roof ventilation
This comprehensive approach to material selection eliminates errors and ensures the durability of the entire roofing system. By carefully studying all options and weighing the pros and cons, you can make an informed choice of material that fully meets your needs and preferences.
Stage 3: Preparation for Roofing Work
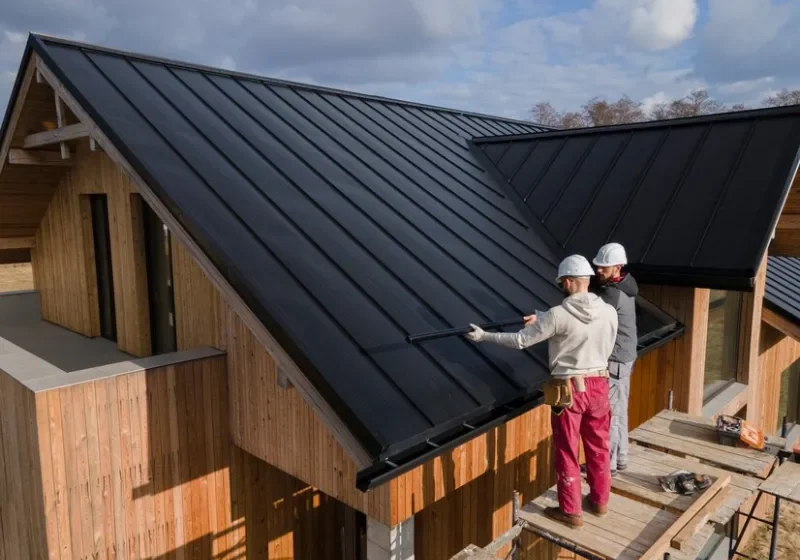
Before starting roof renovation work, ensure you have all necessary permits and approvals. Depending on the country and local building regulations, you may need to obtain a construction permit. It is known that in most European countries, approval is required for work that alters the building’s appearance or structural elements.
Choosing a Roofing Company or DIY Repair
Decide who will carry out the roof renovation – a professional roofing company or yourself. When selecting a contractor, it’s important to verify the following quality and reliability criteria:
- Availability of ISO 9001 certifications and specialized licenses
- At least 5 years of experience and a portfolio of completed projects
- Positive customer reviews and recommendations
- Professional liability insurance and warranties for roofing work
- Transparent pricing and a detailed roofing repair estimate
A qualified roofing company will provide a 3- to 5-year warranty on the work and help avoid common installation mistakes. For DIY repairs, ensure you have the necessary skills, tools, and assistants.
In a recent project, a client tried to save on professional services and ended up spending 40% more on correcting mistakes and repurchasing materials.
Procurement of Materials and Tools
At this stage, you need to acquire all necessary materials and tools for the work. Proper preparation of the material base is the foundation of a successful project. In addition to the chosen roofing material, you will need the following components:
- Waterproofing membranes (diffusion or super-diffusion) per EN 13859
- Vapor barrier films with a vapor permeability coefficient of less than 0.1 g/m²·day·Pa
- Fastening elements (galvanized nails, screws with EPDM gaskets)
- Auxiliary materials (sealants, insulators, ventilation components)
- Tools for dismantling and installation (hammers, screwdrivers, metal shears)
- Personal protective equipment per EN 397 (helmets) and EN 361 (safety harnesses)
The correct selection and quality of materials directly impact the durability of the entire roofing system and the effectiveness of roof waterproofing. Thorough preparation is the key to successful work execution.
After obtaining all permits, selecting contractors, and procuring materials, you can proceed to the next stage – dismantling the old roof.
Stage 4: Dismantling the Old Roof
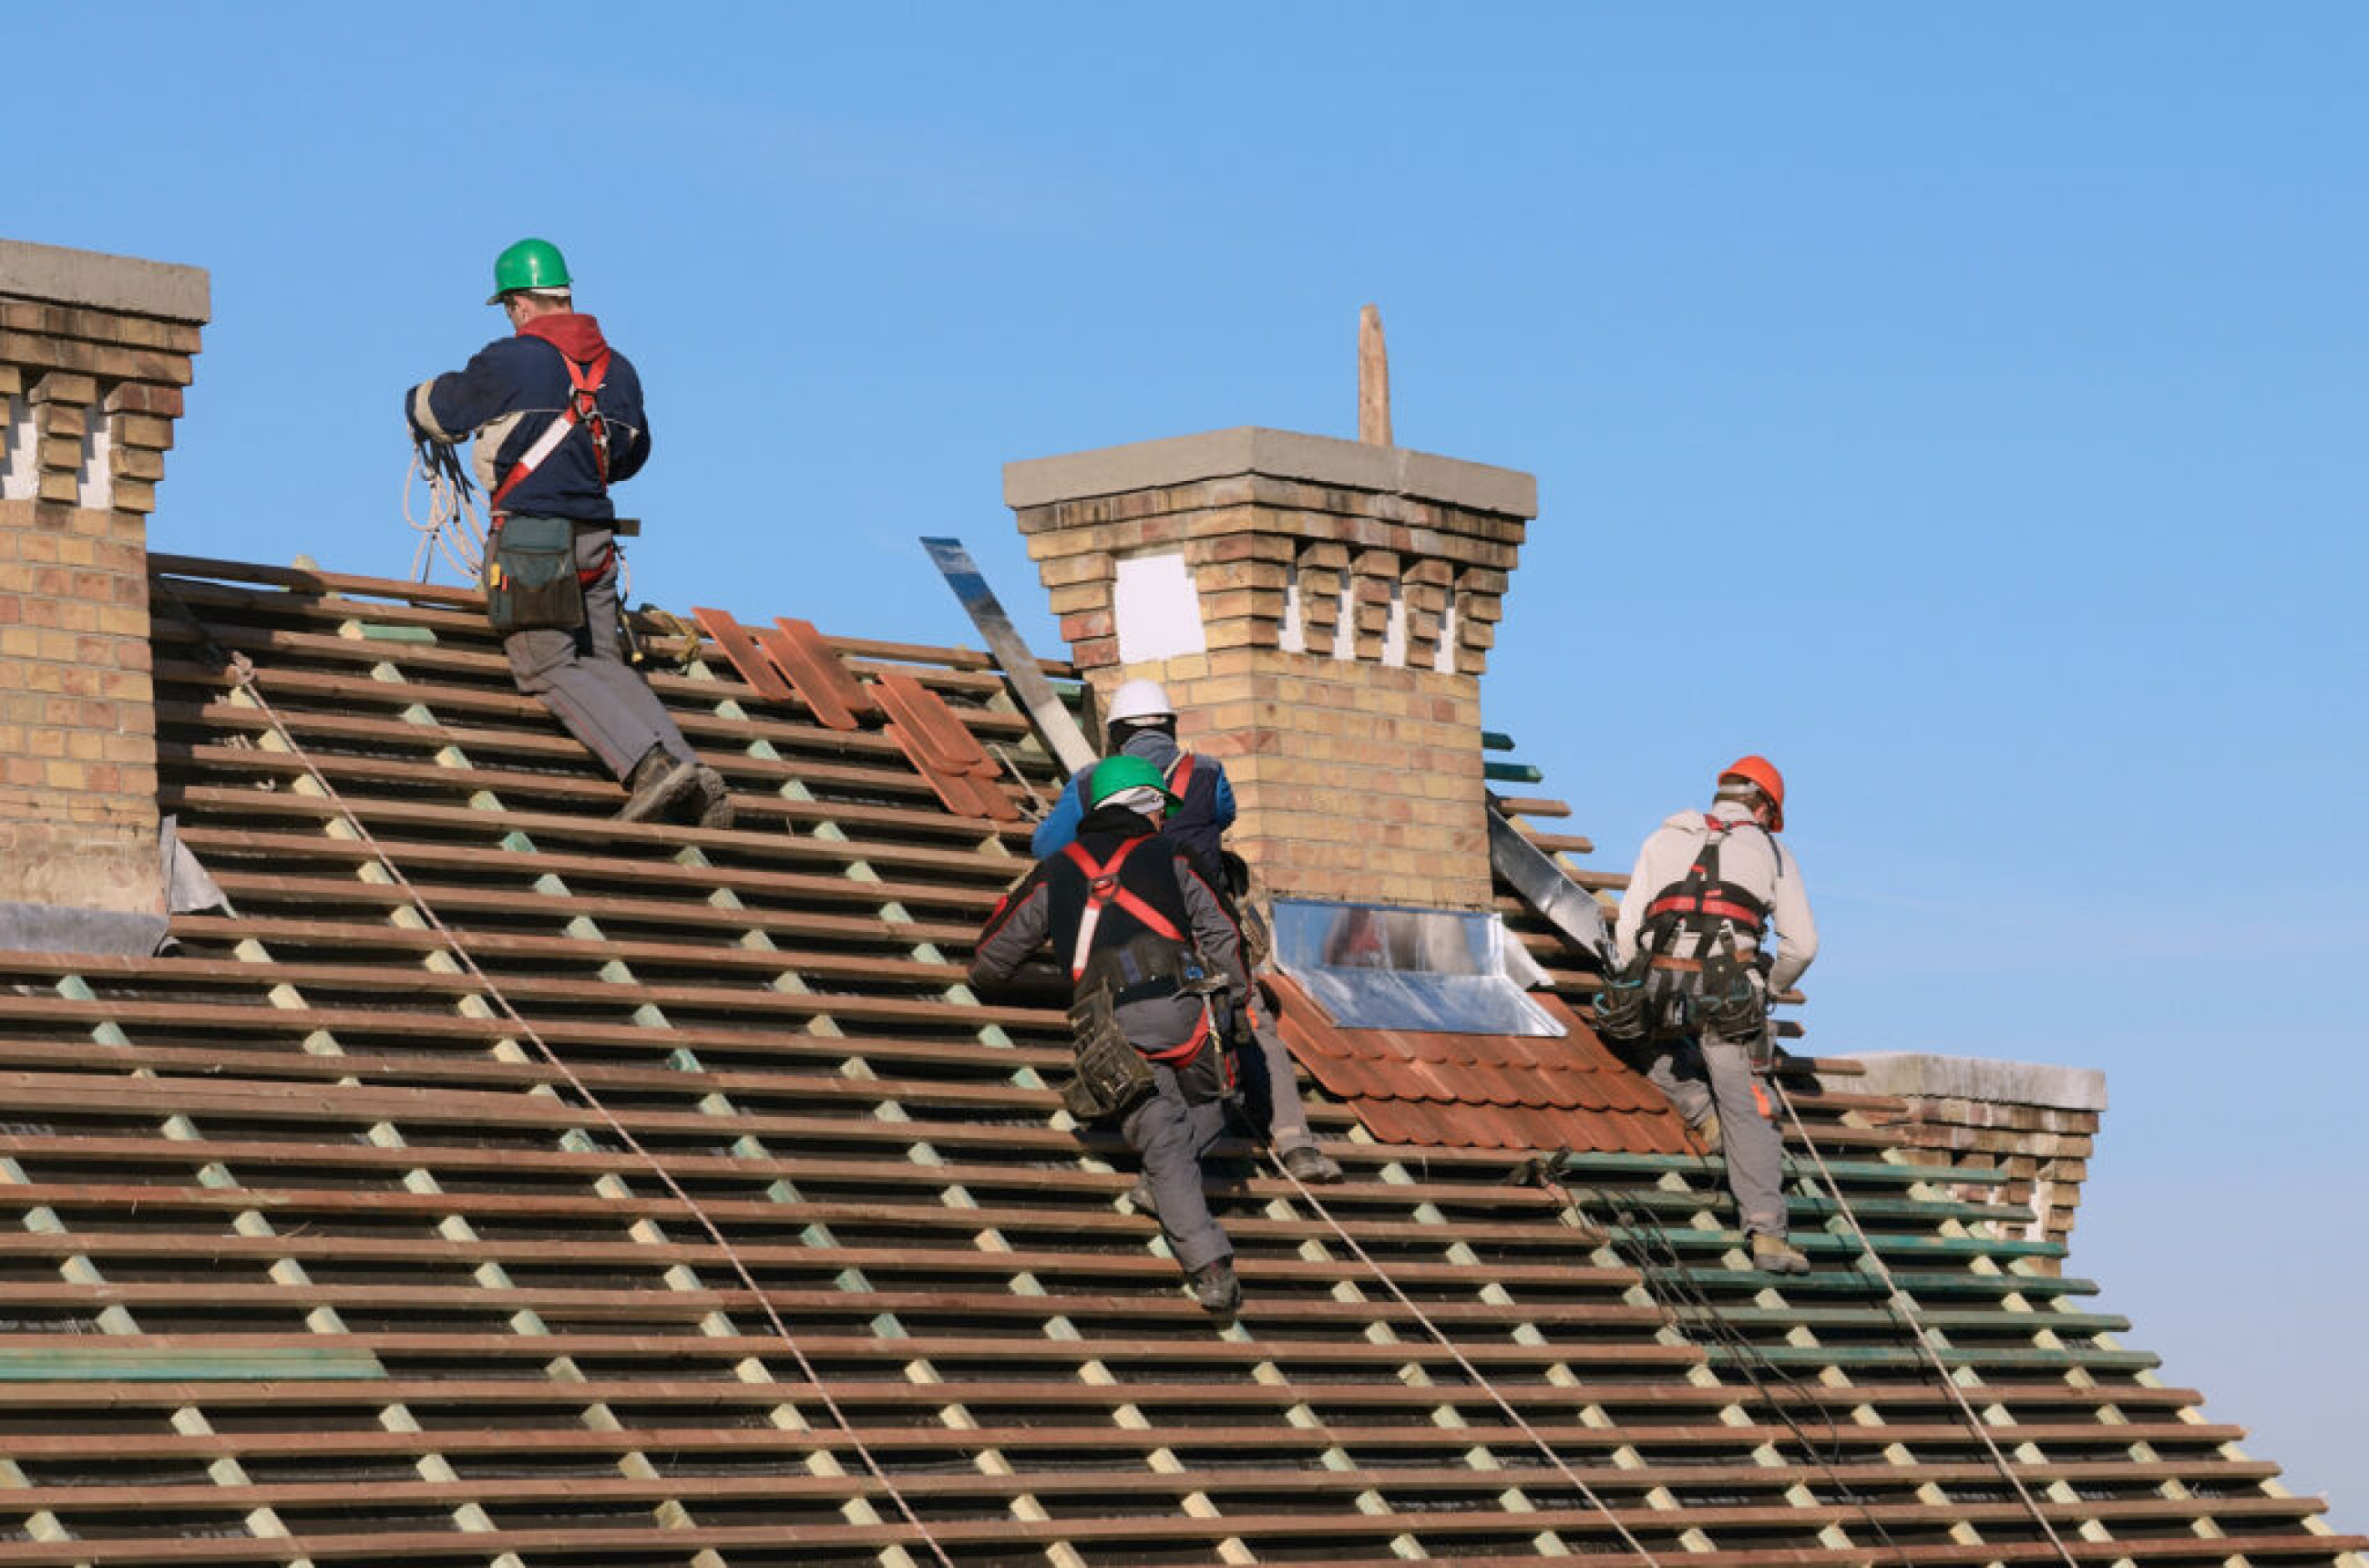
The process of dismantling the old roof requires special care and adherence to a specific sequence of actions. According to European safety standards, all work at height must be performed using safety systems. Typically, the process begins with the removal of drainage system components. Then, the roofing material, waterproofing, and other auxiliary layers are removed.
It is important to handle materials carefully to avoid damaging the rafter system or harming the environment. In one project last season, careless dismantling damaged load-bearing beams, increasing repair costs by 25%.
Safety Measures When Working on the Roof
Roof work involves a high risk of injury, so it is essential to strictly adhere to safety requirements per European standard EN 363 and directive 89/656/EEC on personal protective equipment. Key safety requirements include:
- Use of safety systems class A, B, or C per EN 363
- Use of personal protective equipment (helmets per EN 397, safety harnesses per EN 361)
- Work only in dry weather with wind speeds not exceeding 10 m/s
- Ensuring adequate lighting (at least 150 lx per EN 12464-2)
- Installation of guardrails at least 1.1 m high around the work area
- Placement of safety warning signs per ISO 3864
Compliance with all safety requirements not only protects workers from injuries but also prevents legal issues in case of accidents.
Disposal of Old Materials
After dismantling, old roofing materials must be properly disposed of in accordance with the European Waste Directive 2008/98/EC. Proper waste sorting promotes environmental safety and can reduce disposal costs:
- Metal materials (metal tiles, corrugated sheets) – recycling at scrap metal collection points
- Bituminous materials – disposal at specialized facilities
- Wooden elements – recycling or use as biofuel
- Fibre-cement materials – mandatory disposal at licensed landfills
Some materials can be recycled and reused per circular economy principles, saving costs and reducing environmental impact. Thus, the ecological aspect is also important when planning work.
Dismantling the old roof is a labor-intensive and responsible process requiring special attention to safety and proper waste disposal. After completing this stage, you can proceed to installing the new roofing system.
Stage 5: Roof Installation and New System Setup
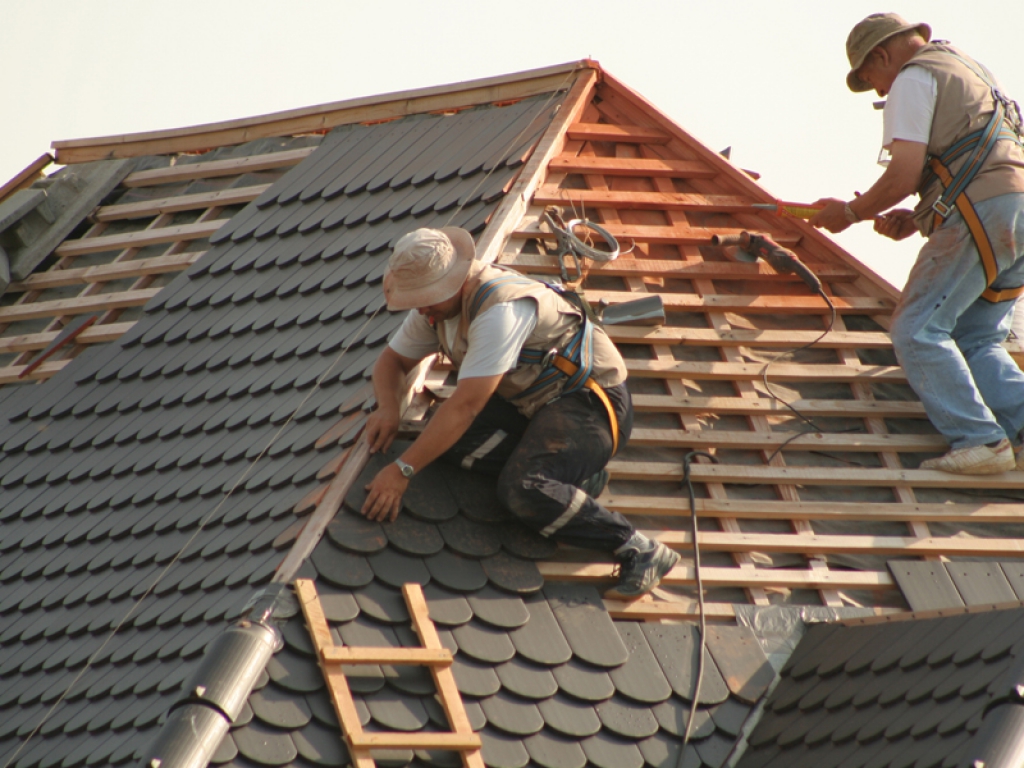
Before installing the new roofing material, the base must be thoroughly prepared per EN 1995 (Eurocode 5). Quality preparation is the foundation of a reliable roof for decades. Base preparation includes the following mandatory operations:
- Complete cleaning of the surface from debris, old material residues, and contaminants
- Leveling and repairing damaged sections of battens or rafter systems
- Checking the geometry of slopes (deviations should not exceed 5 mm per 1 m)
- Treating wooden elements with class 3 antiseptics and class B fire retardants per EN 13501-1
- Controlling wood moisture content (no more than 20% per EN 13183)
Such thorough preparation ensures the reliability and durability of the entire roofing system throughout its service life.
Installing Roof Waterproofing and Vapor Barrier
The next critical step is the proper installation of vapor and waterproofing layers per EN 13859 and EN 13984. Their presence is vital to prevent leaks, moisture accumulation, and condensation.
Correct sequence of the roofing system from bottom to top:
- Vapor barrier film (on the interior side under insulation)
- Insulation material between rafters
- Waterproofing membrane (above rafters)
- Counter-battens to create a 50-100 mm ventilation gap
- Battens for the roofing material
- Roofing material
During installation, strictly follow the manufacturer’s instructions and ensure the sealing of all joints with special tapes. Considering the building’s structural features, proper under-roof ventilation must be organized with an airflow rate of at least 1 l/s per 1 m² of horizontal roof projection per EN 12792.
Roof Repair Technology: Installing the Roofing Material
After installing the waterproofing and vapor barrier, you can proceed to installing the chosen material per roof repair technology. The sequence of actions and technology will depend on the specific type of roofing material and relevant European standards.
Key principles of quality installation include the following technical requirements:
- Adhering to proper overlaps per manufacturer instructions (typically 150-200 mm)
- Using specialized fasteners with anti-corrosion coating per EN 14592
- Installing snow guards on slopes with an incline greater than 30° per Alpine country practices
- Properly sealing roof junctions to vertical elements
- Adhering to temperature conditions for installation (for bituminous materials, +5°C to +35°C)
At this stage, it is critical to strictly follow the manufacturer’s instructions and comply with all safety requirements for working at height. For example, for metal tiles, use screws with EPDM gaskets and screw them into the lower wave with a torque of 1.8-2.0 Nm.
Installing the Drainage System
The final stage of installation is setting up the new drainage system per EN 612 and EN 1462. Its proper setup ensures effective drainage of rainwater and meltwater, preventing leaks and damage to the building’s facade.
A modern drainage system should include the following main components:
- Gutters with a slope of at least 2‰ (2 mm per 1 m of length) per EN 12056-3
- Downpipes with a diameter of at least 100 mm per 100 m² of roof area
- Funnels and connectors with sealed joints
- Brackets and fasteners designed for snow and wind loads per EN 1991
- Heating systems to prevent ice formation in cold climates
During installation, ensure secure fastening of all components and adherence to slopes for unobstructed water flow. A well-designed system can handle up to 200 l/min per funnel, per calculations based on EN 12056-3.
Stage 6: Finishing Work and Quality Control
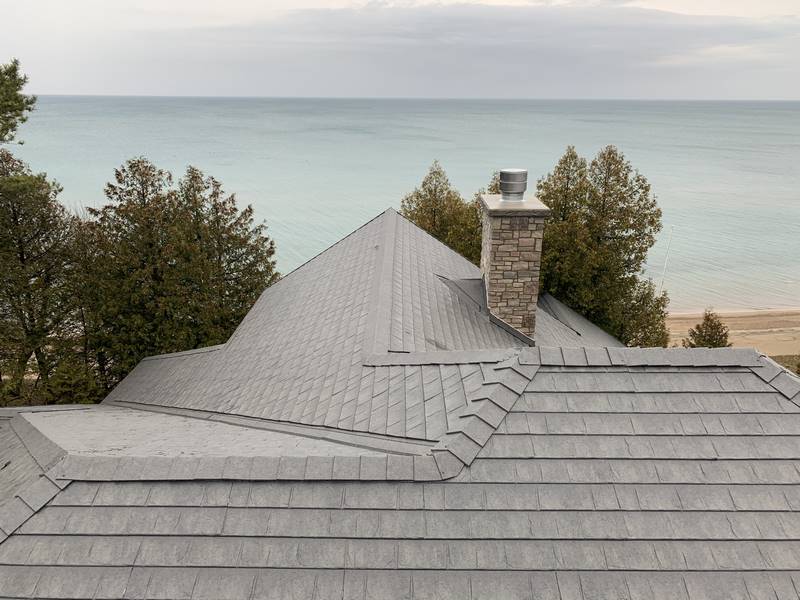
After installing the roofing material, special attention must be paid to sealing all seams, joints, and roof connections to other structures. Chimneys, ventilation pipes, and dormer windows all require thorough treatment per EN 13707.
Quality sealing is critical to the longevity of the entire system. The following specialized materials are used for this:
- Polyurethane sealants for movable joints (class F25 per EN 15651)
- Silicone sealants for fixed joints (class G25 per EN 15651)
- Bituminous tapes and mastics for junctions with brick and concrete surfaces
- Special EPDM rubber cuffs and aprons per EN 681-1
It is important to strictly follow the sealant manufacturer’s instructions and ensure compatibility with the roofing material. A properly executed roofing system and quality sealing guarantee the structure’s durability throughout its service life.
Installing Decorative and Functional Elements
At this stage, various elements are installed to give the roof a finished look and ensure its proper functioning. All elements must comply with EN 14783 for metal components. Functional and decorative elements include:
- Ridge and eave strips to protect end sections
- Wind strips to prevent moisture infiltration
- Tubular or lattice snow guards per Austrian ÖNORM standards
- Roof ventilation elements (aerators, vent outlets) per EN 12792
- Walkways and access ladders for safe maintenance
- Lightning protection per IEC 62305 (international standard)
Using high-quality functional elements not only enhances the roof’s appearance but also significantly extends its service life, reducing risks of damage from snow loads and ensuring safe maintenance.
Final Inspection and Defect Correction
After completing all work, a thorough inspection of the performed work must be conducted per European quality standards. A professional inspection should include verification of the following critical parameters:
- Quality of fastening for all roofing material components
- Tightness of all joints and connections
- Absence of gaps, deformations, or mechanical damage
- Correct installation of the drainage system and its capacity
- Functioning of the under-roof ventilation system
- Compliance of all components with project documentation and CE standards
If any shortcomings or defects are identified during the inspection, they must be promptly corrected before signing the work acceptance certificate. Even minor oversights can lead to significant damage and costly repairs over time.
Only after all defects are fully addressed and warranties are obtained can the roof renovation process be considered complete.
Tips for Maintenance and Care
Proper care and timely maintenance of the roof play a key role in extending its service life and maintaining its performance characteristics. Just as a car requires regular inspections, a roof needs periodic diagnostics per European maintenance standards.
The planned preventive maintenance system per ISO 55000 includes the following key measures:
- Regular Cleaning of the roof from leaves, debris, and other contaminants prevents moisture accumulation and microorganism growth. Cleaning is recommended twice a year: in spring after snowmelt and in autumn after leaf fall.
- Drainage System Maintenance includes cleaning gutters and downpipes from debris, checking joint tightness, and ensuring fastener integrity. A clogged system can lead to flooding and facade damage.
- Periodic Roof Inspections after extreme weather events (strong winds, hail, snowfalls) allow timely detection of damage. Pay special attention to fasteners, sealing, and coating condition.
- Winter Maintenance involves controlled snow removal when the snow cover exceeds 30 cm and ice removal using heating systems. Exceeding calculated snow loads can lead to structural deformation.
- Vegetation Trimming within a 3-5 meter radius of the building prevents mechanical damage from branches and ensures proper insolation to prevent moss and lichen growth.
- Preventive Repairs of minor defects at an early stage prevent their development and eliminate the need for major repairs. The cost of prevention is 5-10% of the cost of a major repair.
Adhering to the maintenance schedule can extend the roof’s service life by 30-50% and maintain its performance characteristics at a high level per European quality standards.
These recommendations will help you make informed decisions when planning and performing roof renovation work. For complex technical questions, always consult qualified specialists with relevant European certifications.
